Skip to main content
Creating your Phelix Account
-
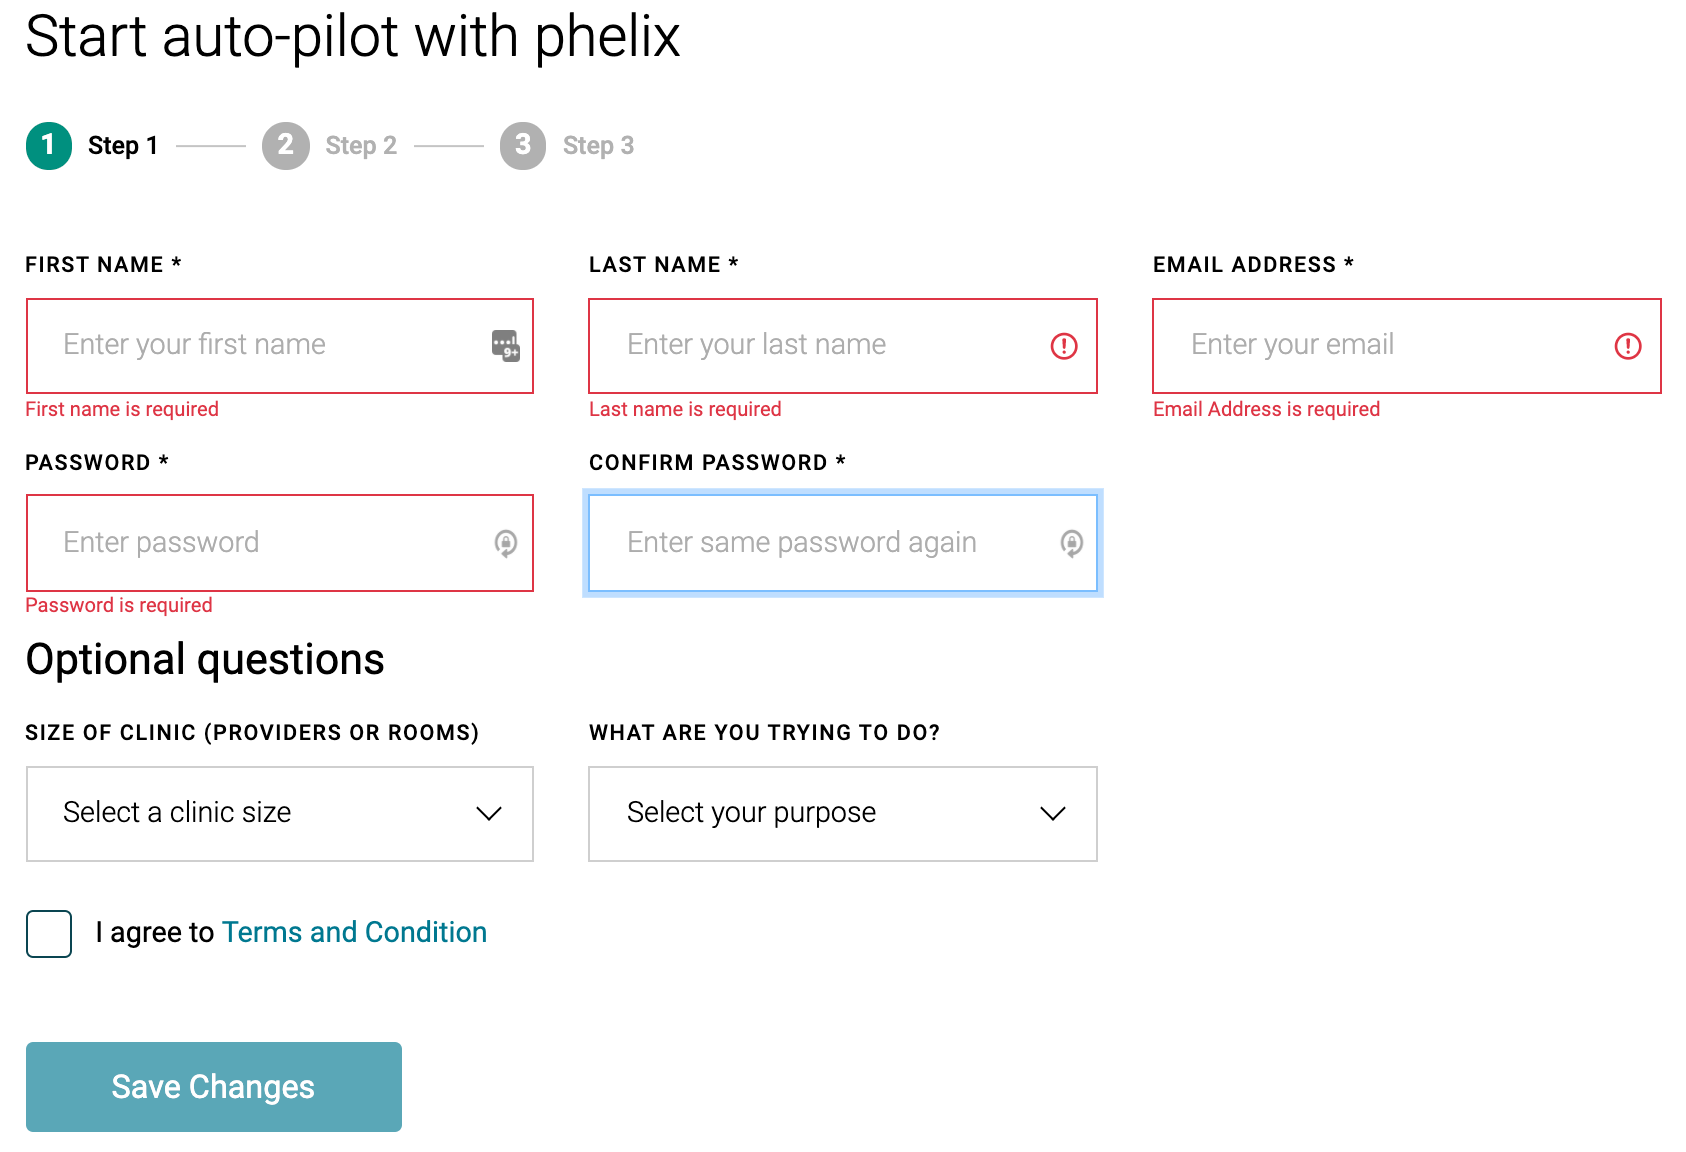
Step 1
- Access the Phelix onboarding link
- Enter all required details
- First Name
- Last Name
- E-mail address (can't be associated with any other Phelix account)
- Password
- Optional questions don't need to be entered (currently under development)
- Review and agree to the 'Terms and Conditions' by clicking the checkbox
-
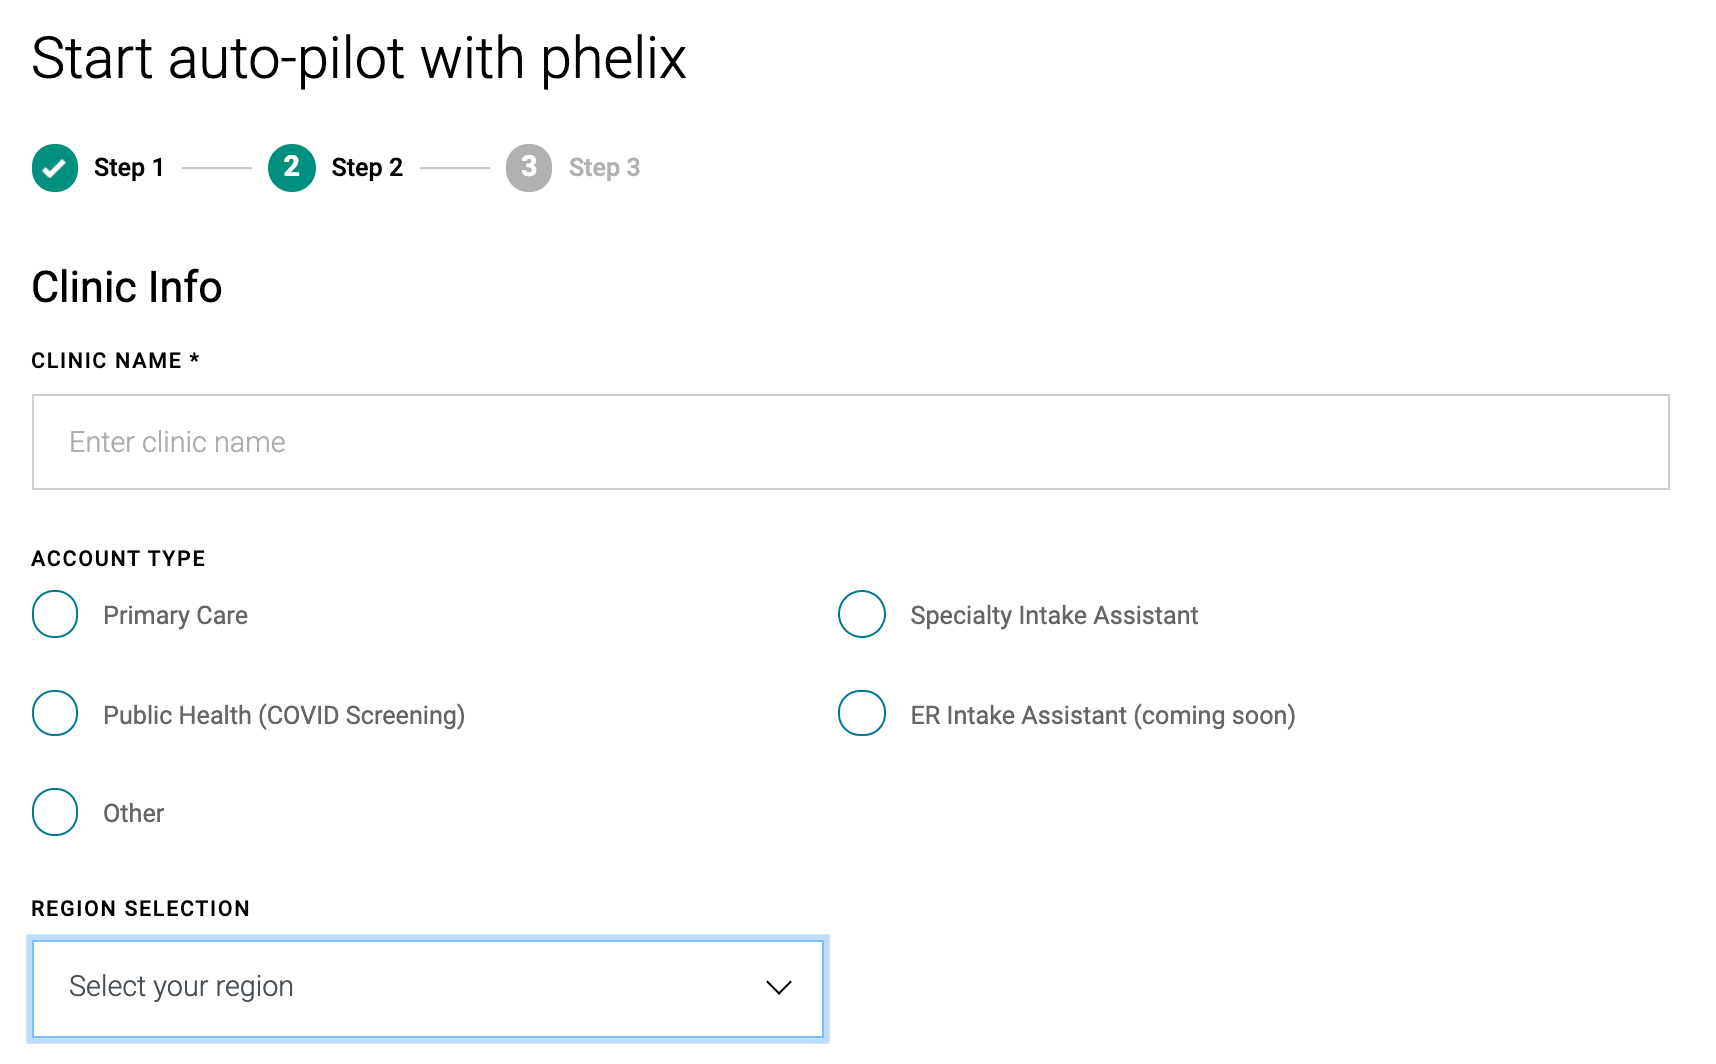
Step 2
- Enter the Clinic Name
- Check 'Other' for 'Account Type'
- Enter the province / state where your clinic(s) are located
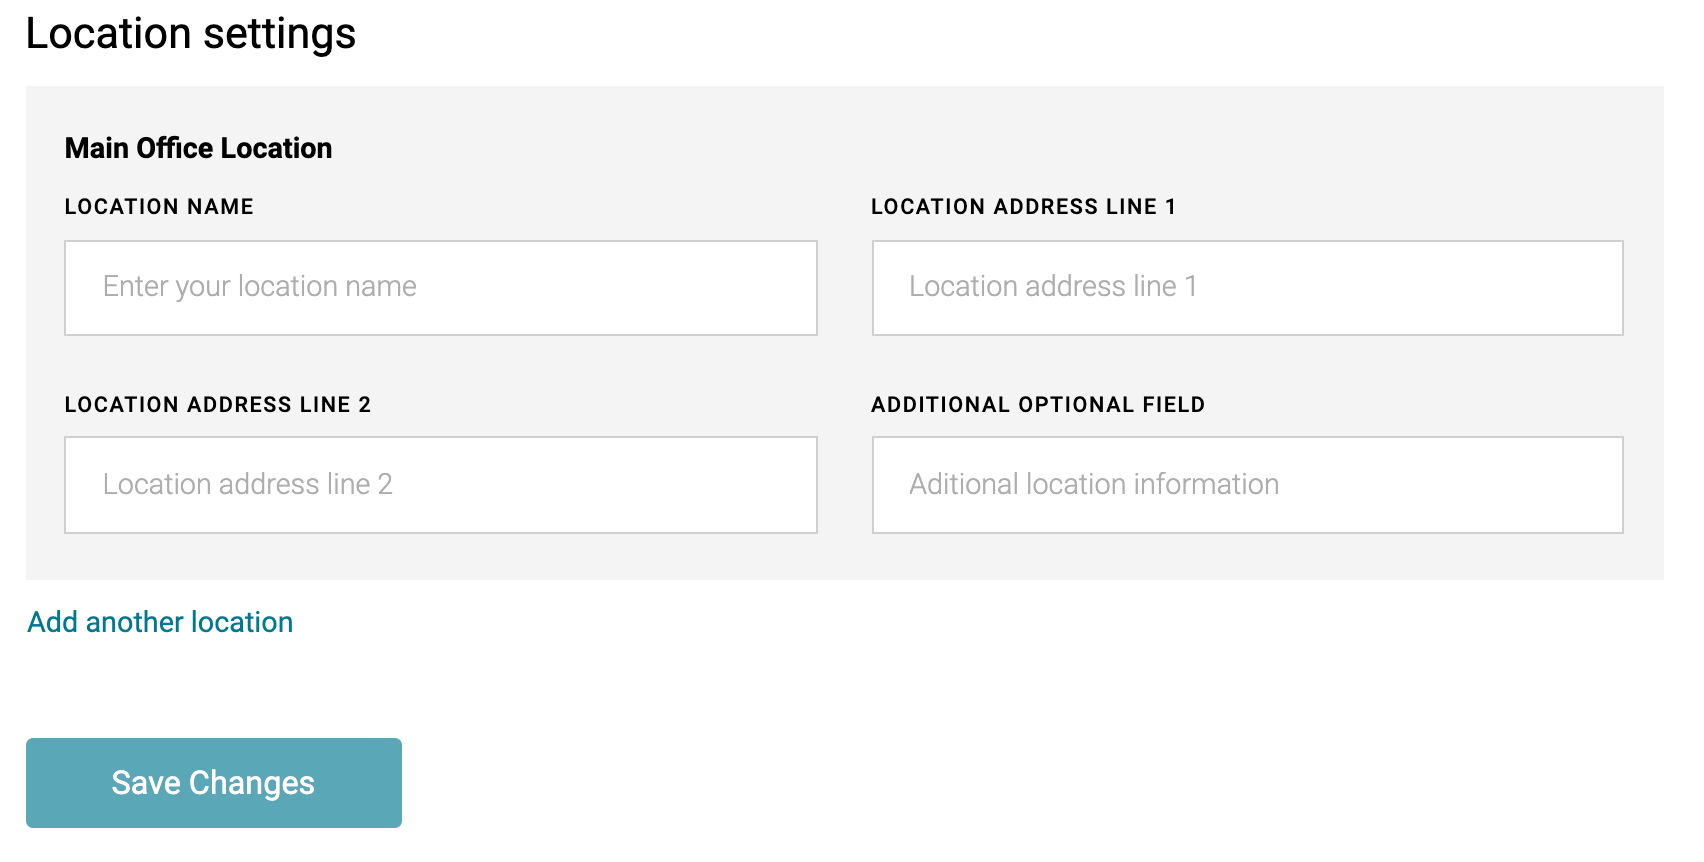
- Enter the name and address of all clinic locations
-
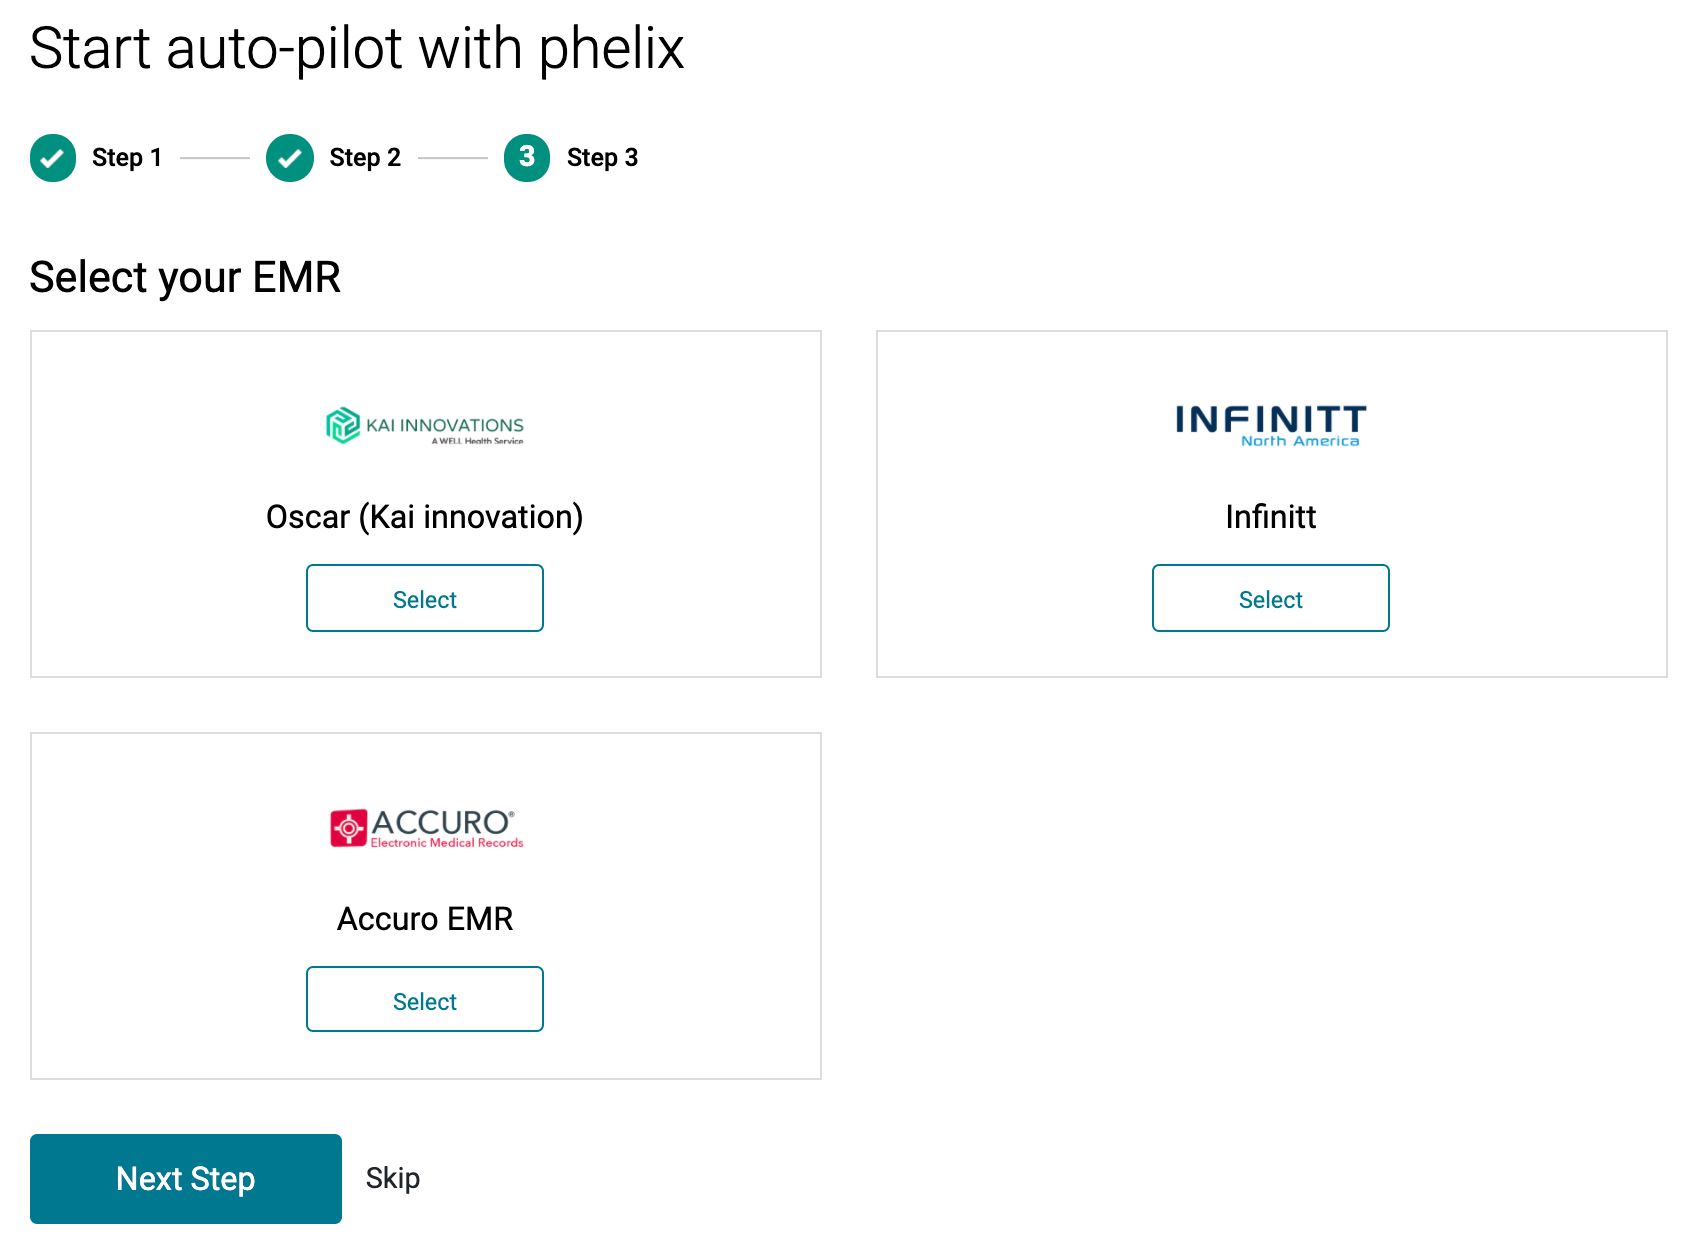
Step 3 (UNDER DEVELOPMENT)
- Press 'Skip' as this section is currently under development
-
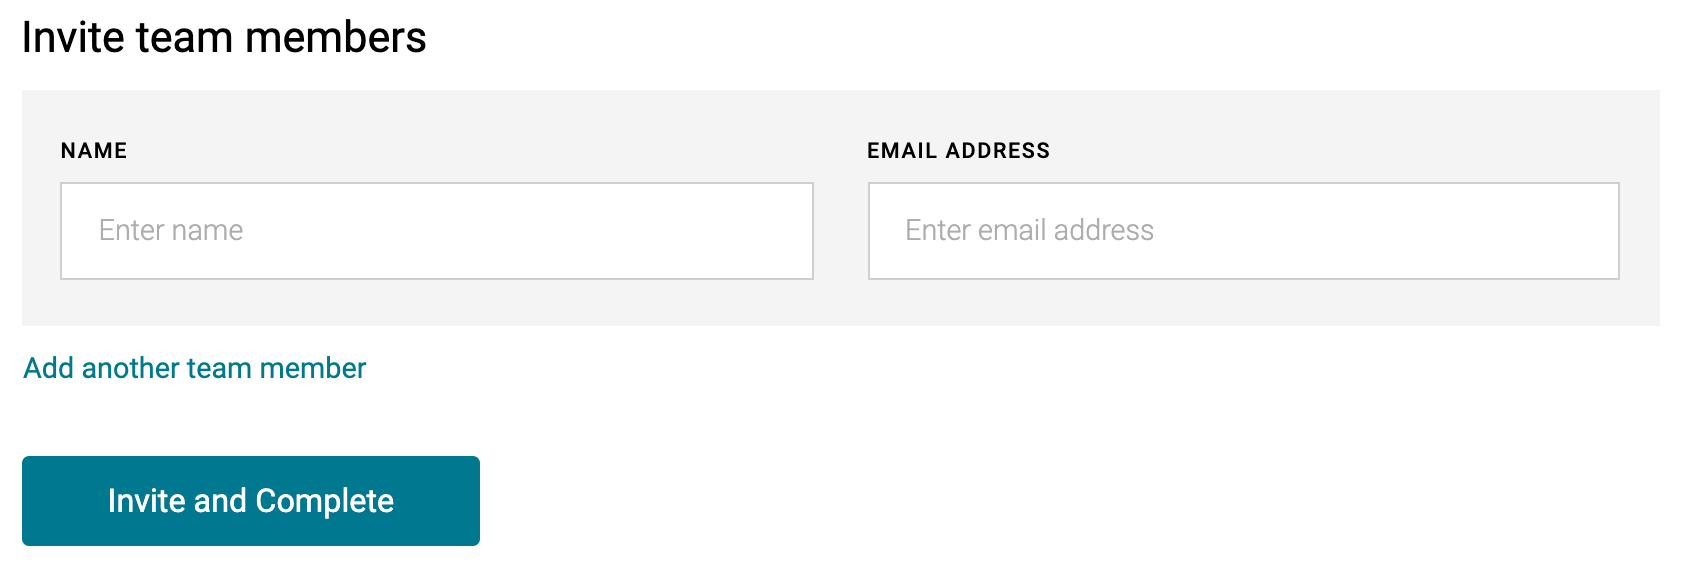
Invite Team Members
- Invite teammates via e-mail (ensure user's e-mail is not associated with another Phelix account)
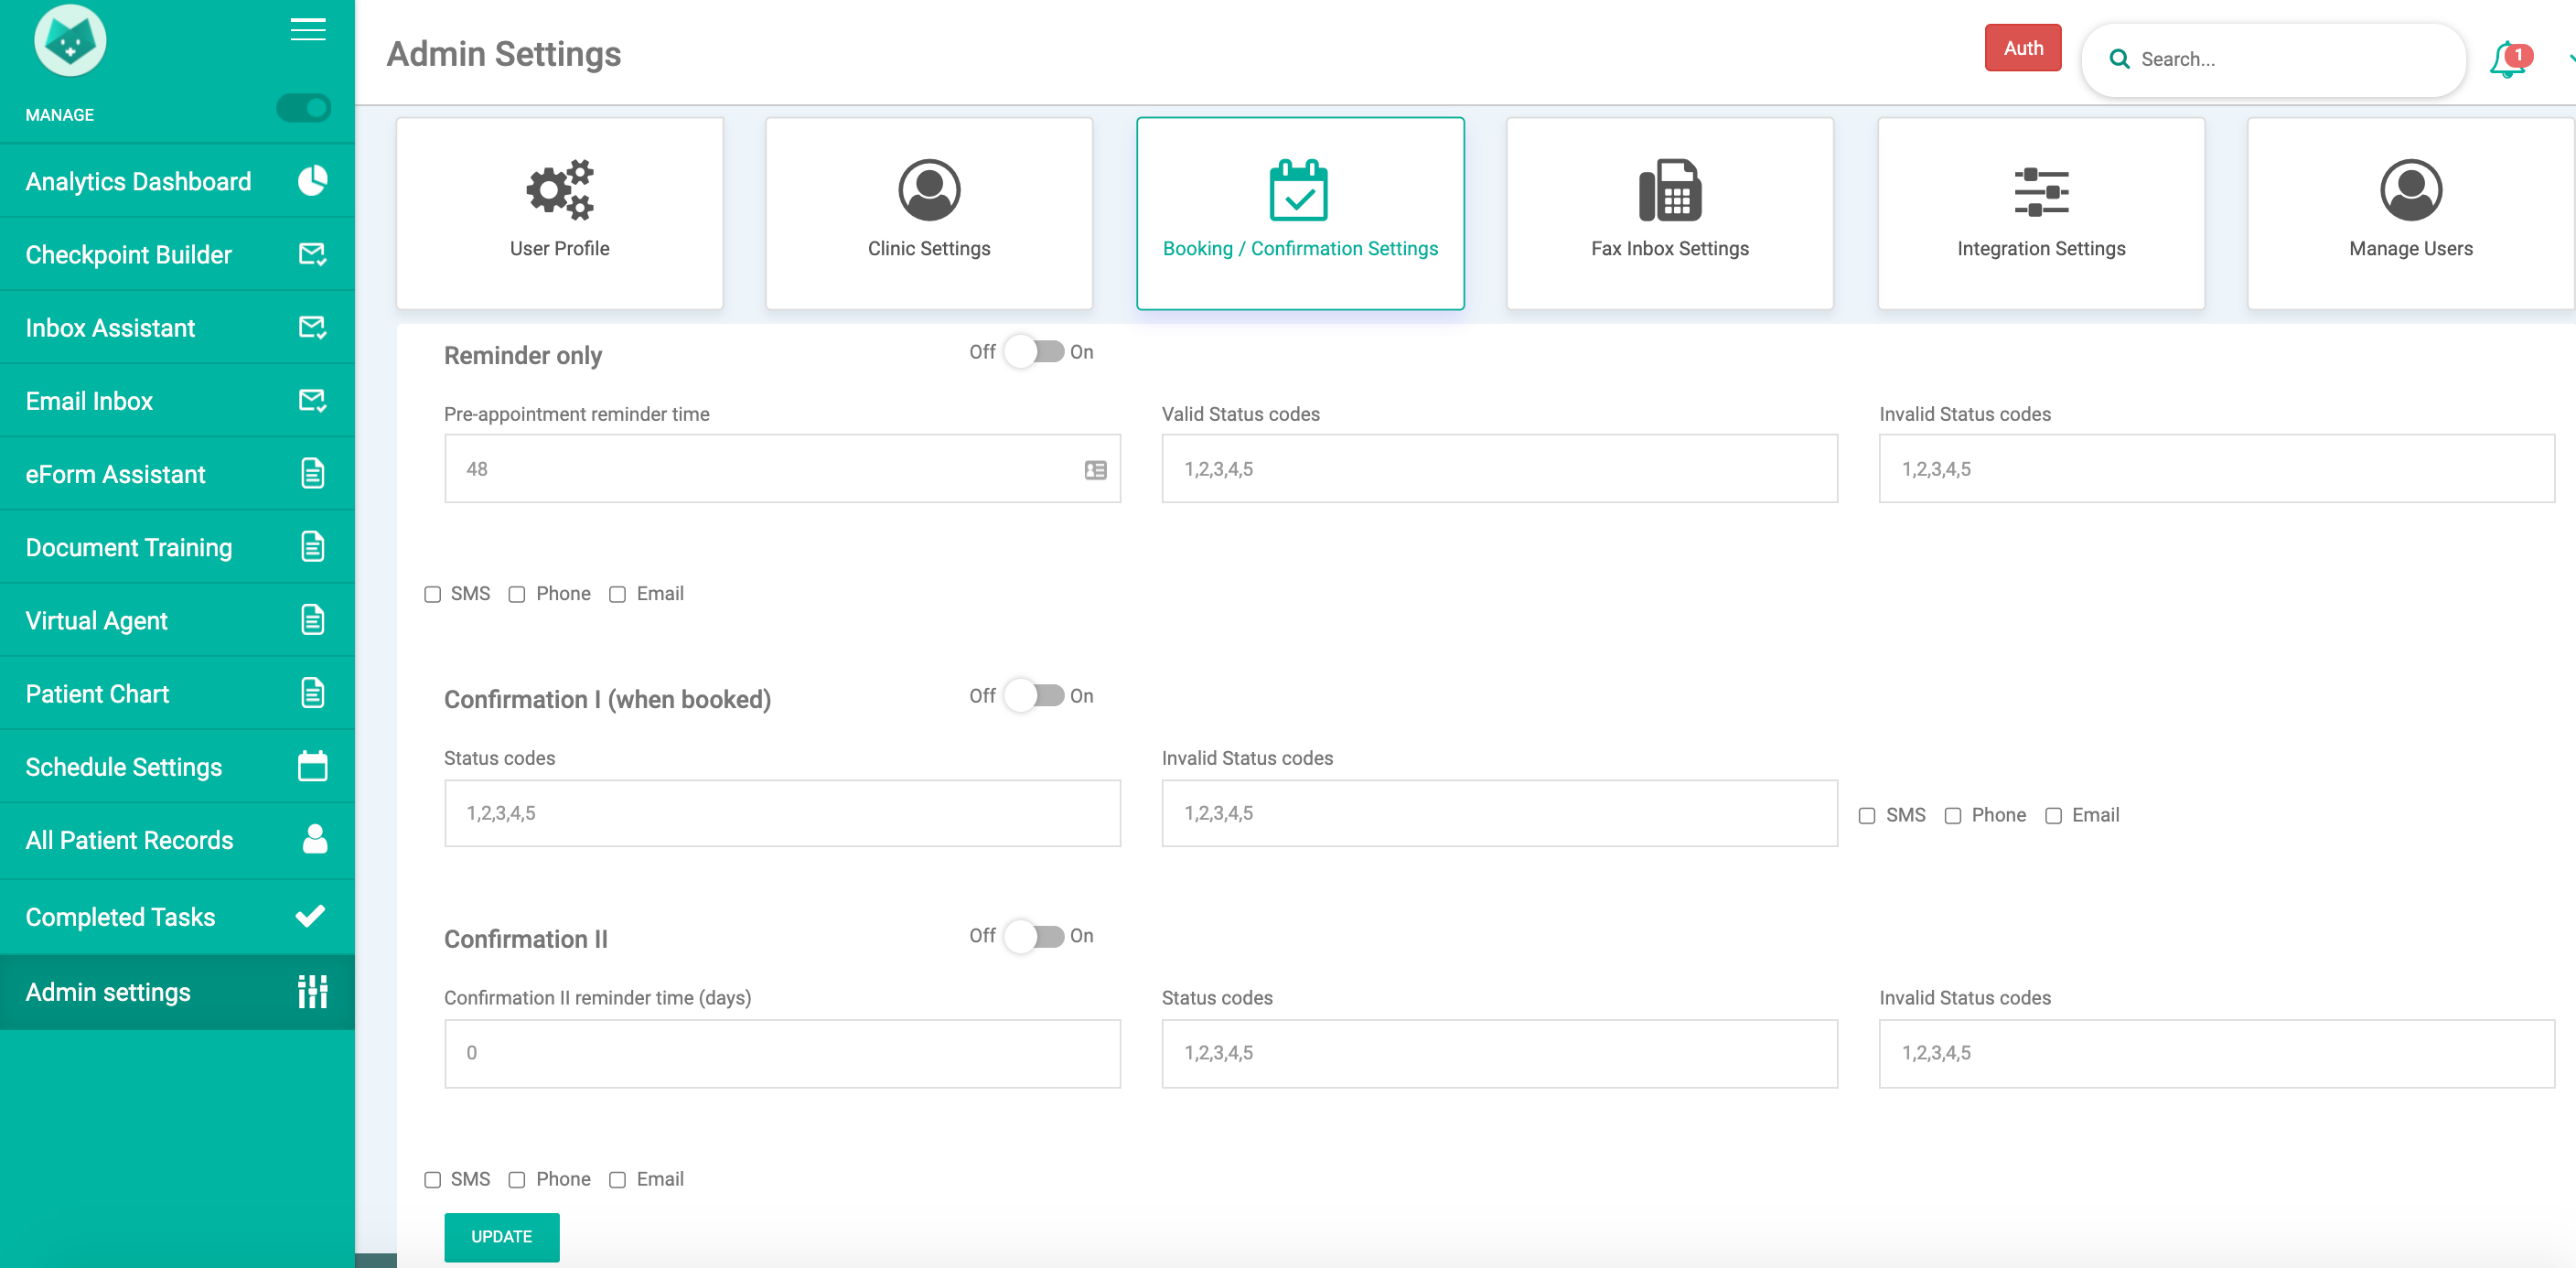
Ensure hardcoded checkpoints off
- Ensure hardcoded checkpoints are set to 'OFF' and all SMS, Phone, Email checkboxes are not checked (refer to Phelix Control Panel for more specifics)
Ensure wayfinding / virtual waiting room is turned off
- Ensure patient wayfinding and virtual waiting room toggles are set to 'OFF' - see Phelix Control Panel article for more specifics

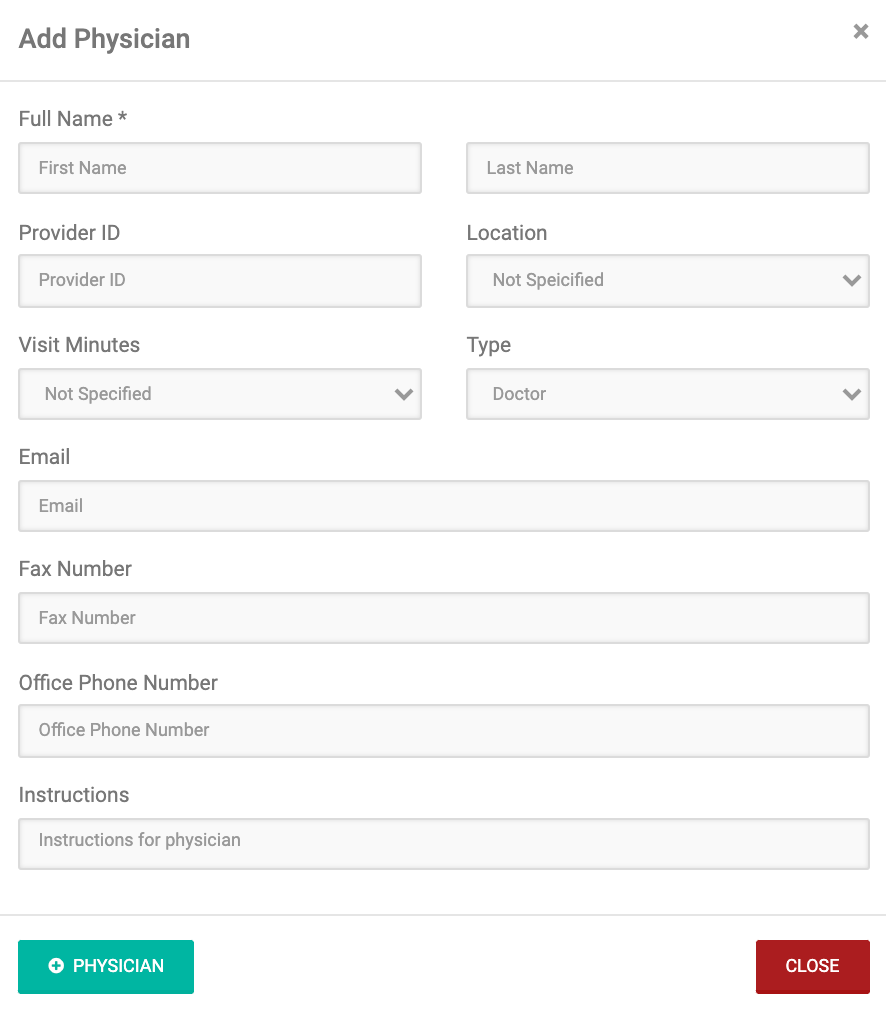
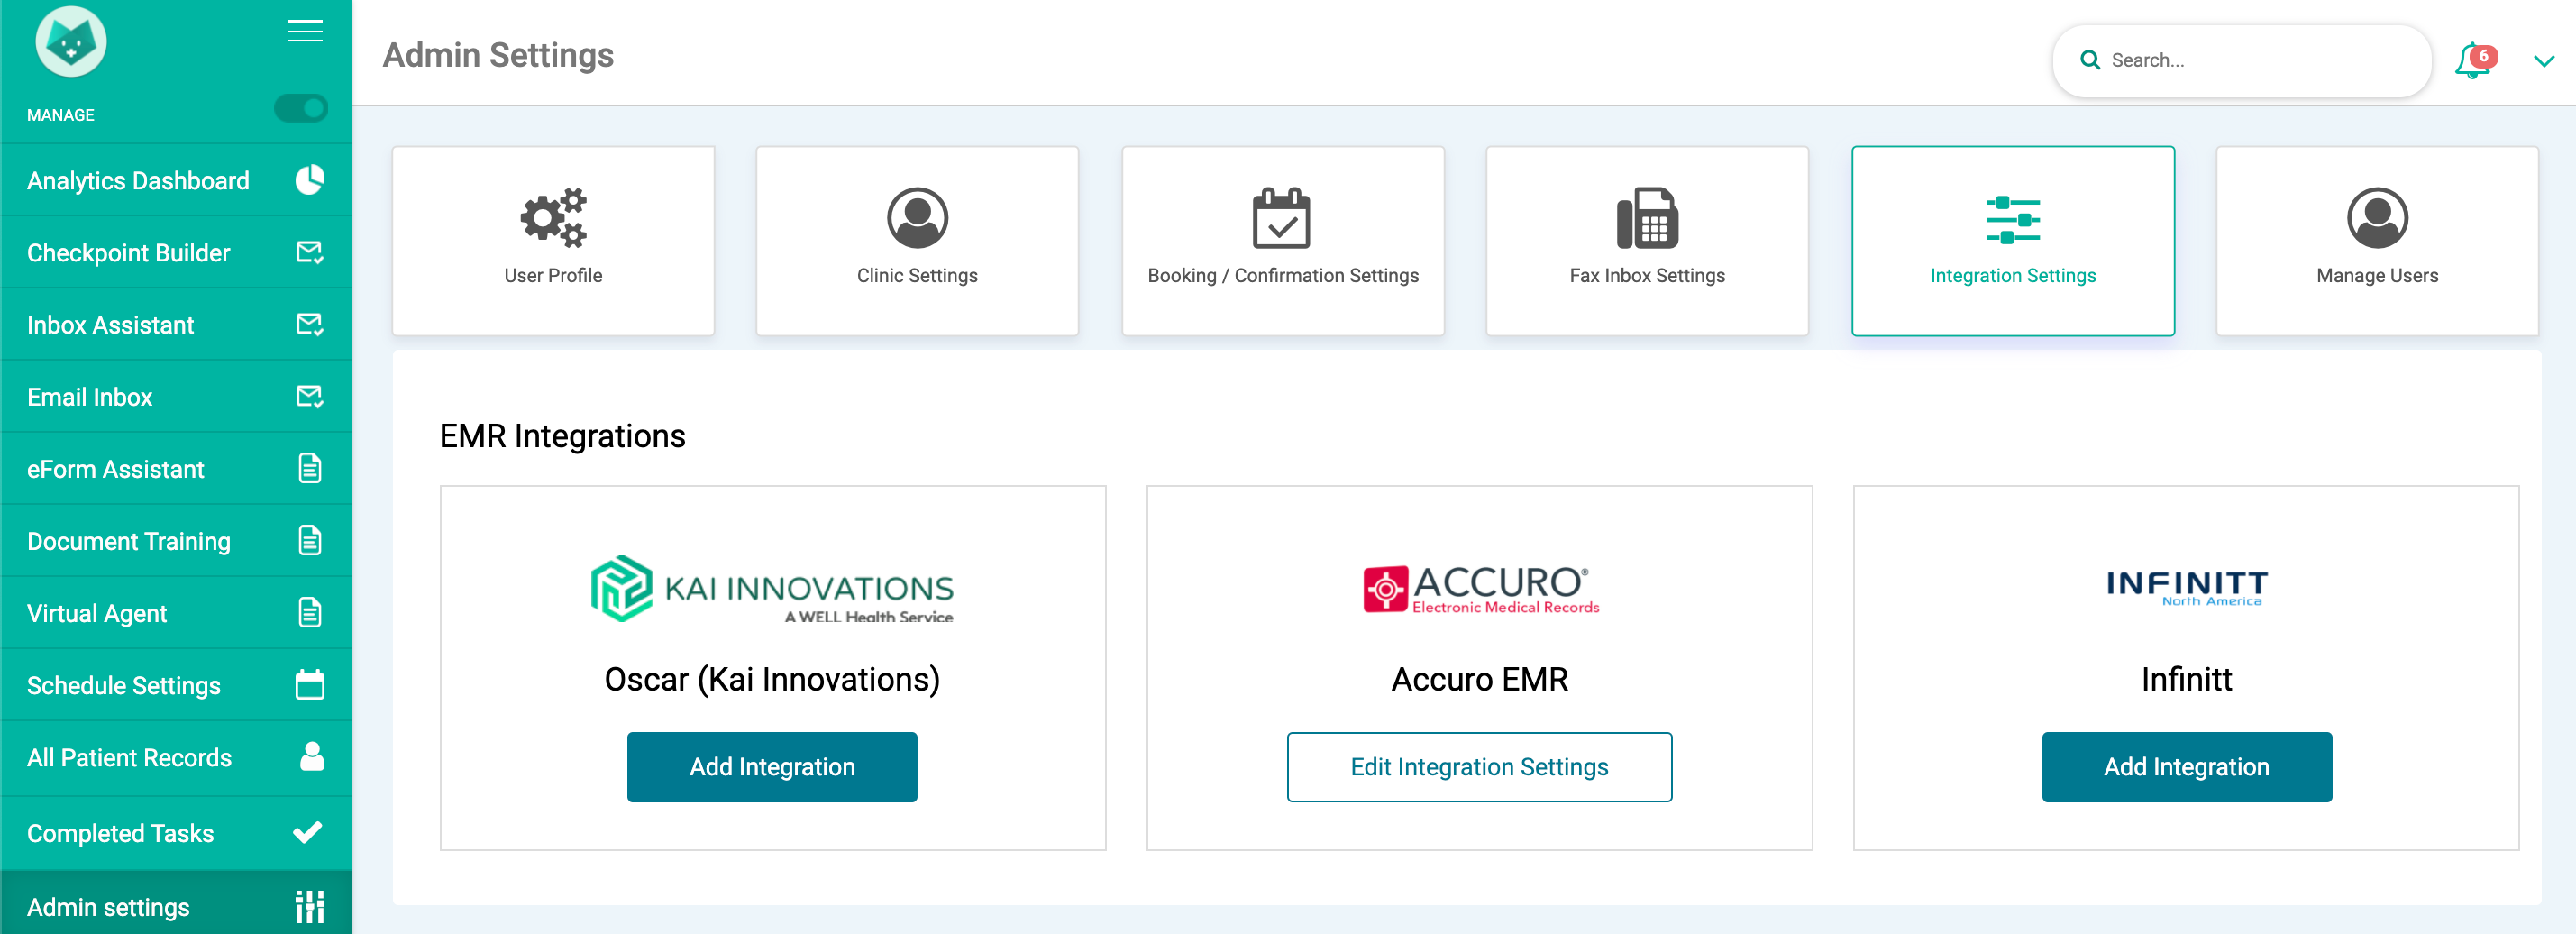
Add physicians
REST + SOAP + Auth + one-time sync


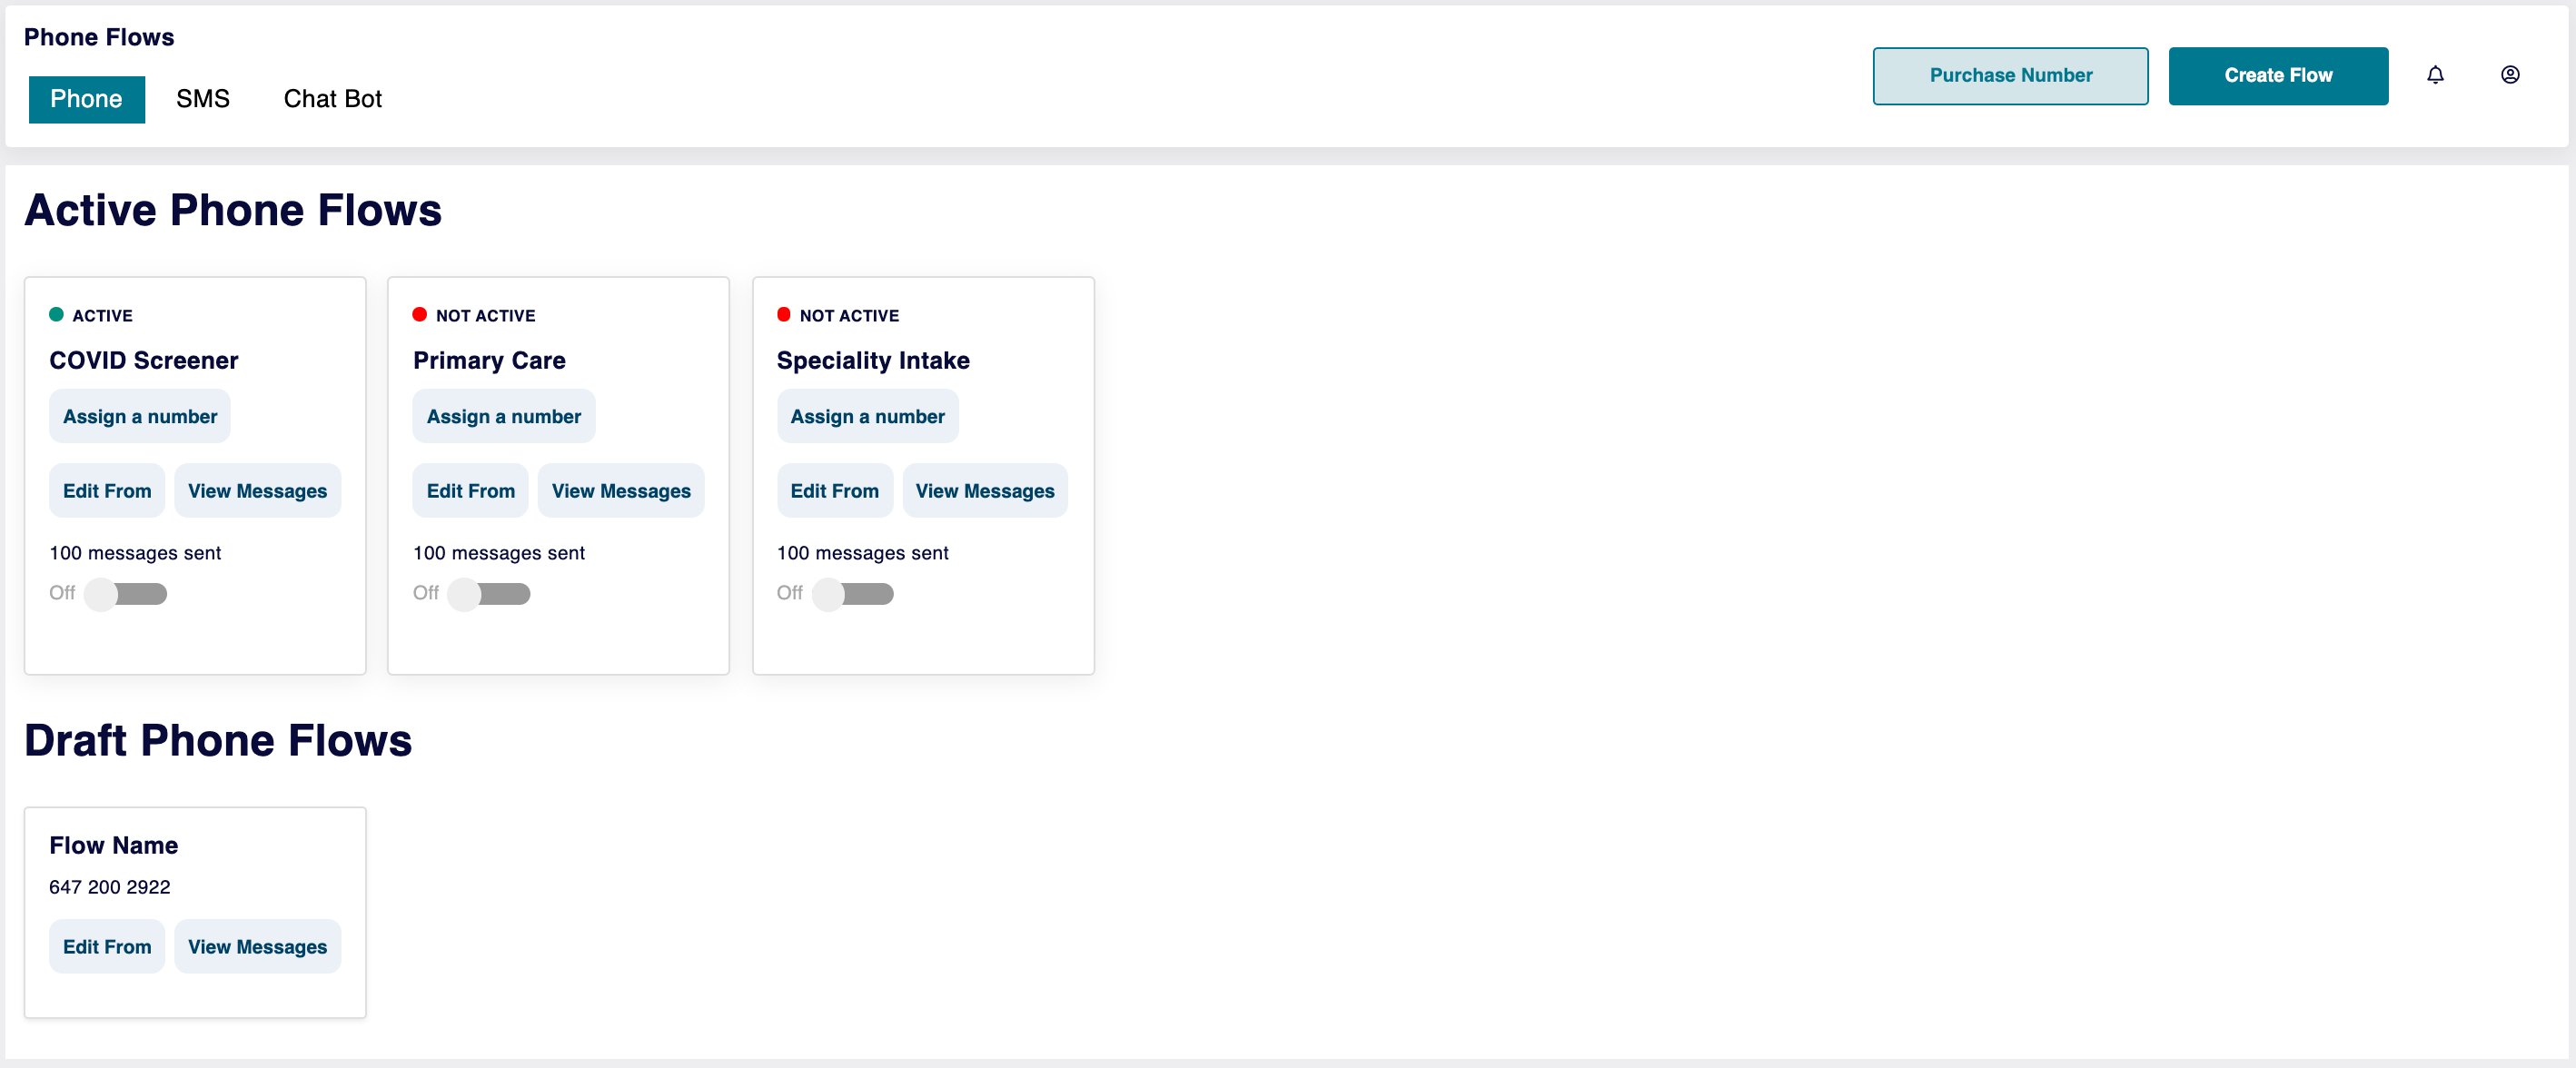
Buy / Assign phone number (UNDER DEVELOPMENT)
-
- Use this section to assign a number to your various flows (COMING SOON)
Was this article helpful?
0 out of 0 found this helpful
Have more questions?
Submit a request